If you don’t have the budget to go to Happy Nails every two weeks, don’t fret. You can still have beautiful nails with a bit of effort and spending a few bucks on polish and manicure tools. But you need to understand that a lot of things can go wrong with DIY mani. You may have to deal with glops, bubbles, chipping, warping and smudging. That said, it’s not impossible to get gorgeous mani by yourself. With a little patience, some practice and the right tools, you can make it happen.
Here’s a step by step guide for you:
First step: Use nail polish remover to clean your nails.
Spend as much time on nail care if you want great looking nails. Use a good quality polish remover to take off old polish and at the same time nourish your nails and moisturize your cuticles. Be sure to wash your hands with water and soap after this step.
Second step: Clip your nails, file and then buff.
If your nails are longer than how you want them to be then clip them. After wards, gently file the nails in a single direction. Then buff the tops and sides to create a smooth surface.
Third step: Apply cuticle remover and push back the cuticles.
Dissolve dead skin and soften the cuticles using a cuticle remover. Let it sit a minute or two and then using your basic orange stick, gently push back your cuticles.
Fourth step: Exfoliate your hands and wrists.
To get rid of dead skin cells, scrub at your hands and wrists including your nails. Then wash your hands thoroughly and wipe dry.
Fifth step: Moisturize your hands and fingers.
For your hands use a hand cream and then apply some nourishing oil on your nails and nail beds. Then use a nail polish remover to remove all the residue.
Sixth step: Apply a strengthening base coat.
You need a base coat to hydrate and strengthen the nails.
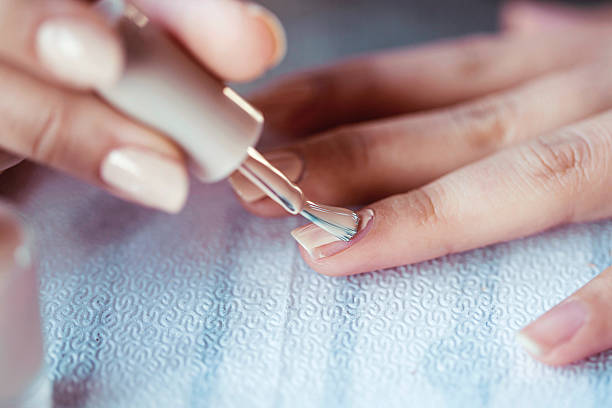
Seventh step: Apply the nail polish.
Choose your favorite nail color and apply the first coat. Keep the layer thin. Then apply a second coat after two minutes. Finally, finish off with a top coat once the 2nd coat is dry.
Don’t forget to clean up the rough edges and allow your nails to dry completely.